Connecting an iPhone to the internet can expose you to all sorts of security breaches, via phone call, data, and email scams, to name a few. If you want a secure connection, you'll need to look into installing an iPhone Virtual Private Network, or VPN. Whether it's at a public airport WiFi or ensuring your ISP isn't collecting data, or the absolute worst—connecting to a WiFi hotspot—you're vulnerable.
Here's a list of the best iOS VPNs, an explanation of what an iOS VPN does, as well as what to look for when selecting a VPN.
The Best VPN Apps for iPhone
1. ExpressVPN
Over 2,000 servers to choose from
Expensive compared to competitors
Supports older iOS versions
No free trial
Fast speeds allow you to access streaming services, and ExpressVPN offers wide support for the iPhone—both older and newer versions of iOS.
Security is important to this provider, and along with offering 256-bit encryption, an automatic kill switch, and private, encrypted DNS on every server, it also ensures no collection or logging of data—at all.
As a result, it's a bit pricier, but if you're willing to pay for privacy, it's a good bet.
Get 12 months + 3 months free when you sign up for Express VPN now!
2. NordVPN
Top-notch security
Unclear logging policy
Services in over 50 countries
Reliable and friendly
This provider ensures a good experience with its user-friendly interface. You can quickly see information displayed: closest server, availability, load percentage, etc. With over 2,870 servers in 59 locations, there's plenty of information for the app to display.
Security is extremely important to NordVPN, with its inclusion of 256-bit encryption, double data encryption (that means your data is encrypted through not 1, but 2 servers), and an automatic kill switch.
Though monthly billing is a bit pricey, the other plans are more affordable, with the rates dropping for longer plans. The 2-year plan is the least expensive.
3. Private Internet Access
Private Internet Access is a reliable, secure, and fast VPN with over 35,000 servers across 77 countries. As a veteran in the industry with over 10 years of experience, its product comes with a 30-day money-back guarantee.
Private Internet Access offers multiple security features, including encrypted wifi, no logging, a kill switch, two-factor authentication, plus it blocks ads, trackers, and malware.
As for price, it is very competitive at $2.69/month for a 2-year plan. Additionally, 1 subscription covers up to 10 devices, which means you don’t need to pay a lot to get comprehensive coverage.
4. Norton Secure VPN
Norton Secure VPN comes attached to the Norton name, which means that you get the infrastructure and customer service associated with an experienced industry heavyweight like Norton. Norton Secure VPN is seamless on desktop and mobile devices.
The server count is lower than the competition, but features such as unlimited bandwidth, OpenVPN protocols, a no-logging policy, and a 60-day money-back guarantee show that Norton Secure VPN has more to it than just a recognizable name.
5. Surfshark
Surfshark VPN is relatively new and has earned its place among the elite services. Located in the British Virgin Islands, Surfshark enjoys the perks of a territory with no data retention laws and favorable data protection laws that ensure user information is safe.
Furthermore, it has a strict no-logs policy, and no identifying information about users is collected.
6. IPVanish
IPVanish is an excellent choice for anyone looking to secure their internet usage no matter where they are in the world. You can utilize its services to secure your connection - even when surfing on an unsecured Wifi channel - access all your favorite shows or channels, and keep important information safe.
From a solid money-back guarantee and competitive pricing plans to unprecedented tier-1 service quality, IPVanish delivers an impressive package for the industry.
7. CyberGhost
CyberGhost is a fast, secure VPN service owned by a privacy-focused company based in Bucharest, Romania. This VPN service has been around since 2011, and it has a comprehensive grasp of what the digital world needs—internet freedom and privacy. CyberGhost VPN is more of a privacy solution, and it follows a strict no-logs policy. It packs many features to showcase its capabilities.
8. PureVPN
80,000+ IP addresses
PureVPN is one of the elite services of 2025. It’s also the world’s fastest VPN service. PureVPN is based in Hong Kong, away from the eyes of US or EU surveillance. This jurisdiction is favorable for a VPN service, and PureVPN is not required to store any data.
Their privacy policy also states that they do not log activities. PureVPN clients are easy to use, but the interface can get complicated as you dive into more settings.
9. ProtonVPN
Swiss provider, absolutely no logging
ProtonVPN is a Swiss-based VPN service that is big on privacy. From the creators of ProtonMail, the largest secure email service developed by CERN, ProtonVPN takes internet privacy to the next level. Features abound to keep your sessions secure and anonymous at all times.
Available for Windows, Mac, Linux, iOS, and Android devices, you can take your ProtonVPN anywhere you go. Check out the free plan or opt for more robust features.
10. ZenMate
Optimized for high speeds
Trusted by over 47 million users, ZenMate is a fast, secure, and easy-to-use mid-range VPN. To date, ZenMate remains an excellent choice for non-technical users, and this makes it one of our favorites. ZenMate’s easy-to-use plug-in is its key differentiator.
Simply one-click install this user-friendly plug-in for safe and secure browsing in up to 74 countries worldwide.
How Does an iPhone VPN Work?
An iPhone VPN conceals your IP address by connecting to a remote server hosted by the VPN company, thus encrypting the data to make it seem that the IP is in a different location. Some of the key advantages of an iPhone VPN is that it keeps browsing activity out of view of hackers or ISPs trying to collect your data.
- Types of Data Encryption Protocols
In more technical language, iPhone VPNs work by using several different types of encryption:
- PPTP – Fast, but less secure than other encryptions.
- L2TP/IPSec – One more step higher up in security than PPTP.
- Internet Key Exchange version 2 – Strong, but not as strong as OpenVPN. This is the most popular protocol for iOS VPN clients.
- OpenVPN – Although open source, this protocol is extremely secure, and what providers use when they claim "military encryption."
What to Consider When Selecting an iPhone VPN
Speed and Performance
In addition to speed, it’s important to understand how many connections the iPhone VPN allows and the speed you receive as a result. A simple tip is to connect with the closest server, especially while completing any data-intensive tasks on your iPhone.
- Security and Privacy
If your VPN doesn't provide security against hackers, what's the point? Check that the provider includes strong encryption protocols.
Security goes hand in hand with terms of service, which should clearly illustrate which types of data ISPs are allowed to store. Some VPNs do sell data to third parties for profit. For maximum protection of your privacy, select providers with zero log policies or anonymous statistics only. If anonymity is very important, check carefully for a service that is based in a country that does not have a data retention policy, and that it doesn't collect data from your ISP.
Reliability and Accessibility
To make sure you're getting the most reliable service out of your iPhone VPN, be sure to select a provider with lots of server locations. This will give you more chances to find a speedy connection with less traffic.
How to Configure a VPN on Your iPhone
Once you’ve chosen your preferred VPN, it’s time to set it up on your iPhone.
For the purposes of this guide, we’ll use screenshots from NordVPN’s iOS app, but the installation procedure applies to most other VPNs, too.
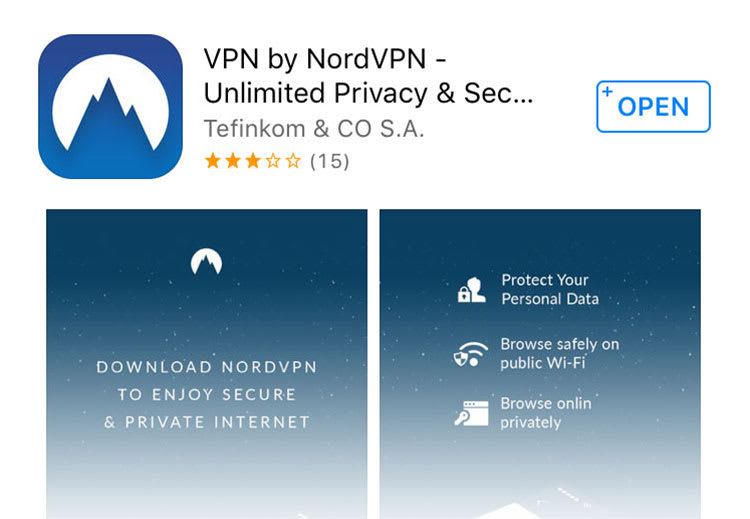
Step 1: Go to the App Store and download the app
You don’t usually need to log on to the VPN’s website to get the best VPN for your iPhone. Instead, you can log on to the App Store, search for your VPN provider by name, and download the app directly on your iPhone.
Step 2: Create your account
Once you’ve downloaded and installed the app, you’ll need to register for an account. Some VPN providers - ExpressVPN, for instance - have a free trial. This means you can start using the VPN immediately without signing up. If this is the case, skip to Step 3. Free trials usually last for a set number of days (typically 7, 14 or 30 days) or expire after you’ve used up a set amount of data. Once your trial expires, you’ll need to come back to this step to create an account and select a subscription.
You can usually create an account straight in the app by typing your email address and creating a password.
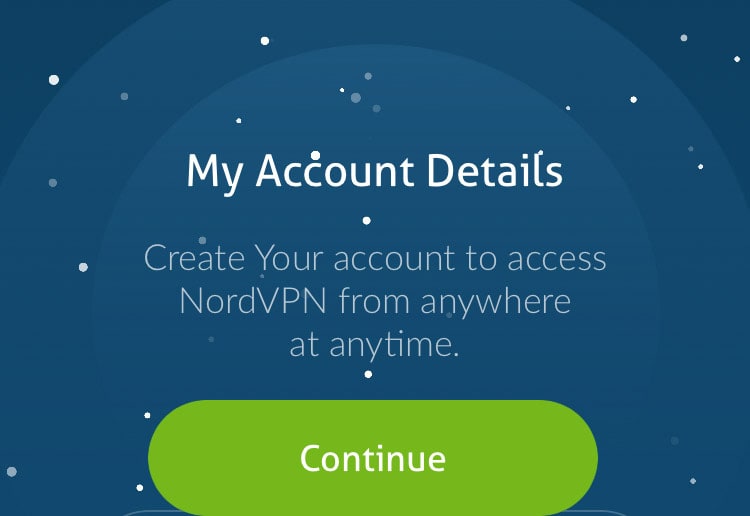
You’ll also need to pick a plan and pay for your subscription. Many VPN providers get cheaper with the more months you pay for upfront. A year-long subscription is usually the cheapest option. You can pay straight from the app either by inputting your credit card details or via Apple Pay.
Step 3: Choose a server and connect
Once your account is active, simply connect to a server and you’re done.
Your choice of server will depend on your needs. If you simply want your data to be protected, any server will do. However, it’s best to go for one that’s close to your location, as this will ensure your connection performs optimally.
You can pick a server in your VPN app, either from a list:
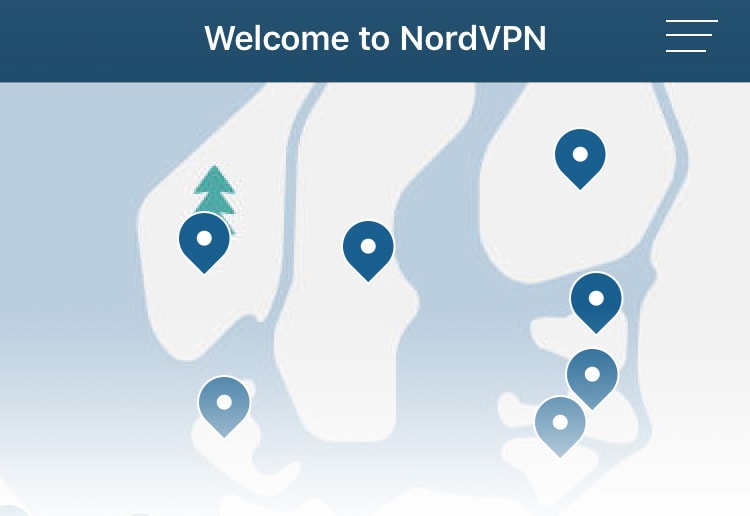
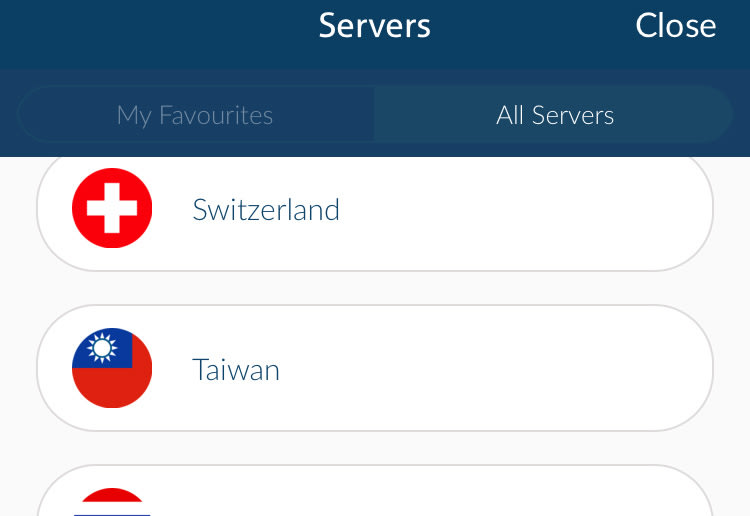 Or you can make your selection from a map.
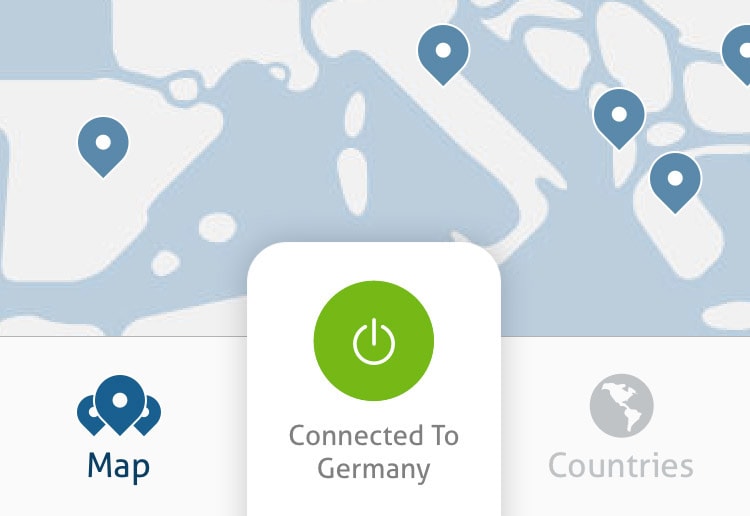
 Once you’re connected, an icon on the top left of your iPhone screen, right next to the WiFi or 4G symbol, will show that the VPN is active and working.
How To Use VPN On Your iPhone
iPhone VPN apps come at different price points and range from the very basic to apps with advanced features and iOS-specific functionality (both ExpressVPN and PureVPN iPhone apps are cases in point). The VPN will usually be active while you use your phone and disconnect after a while if you lock the device and put it away. When this happens, you’ll need to switch on the VPN.
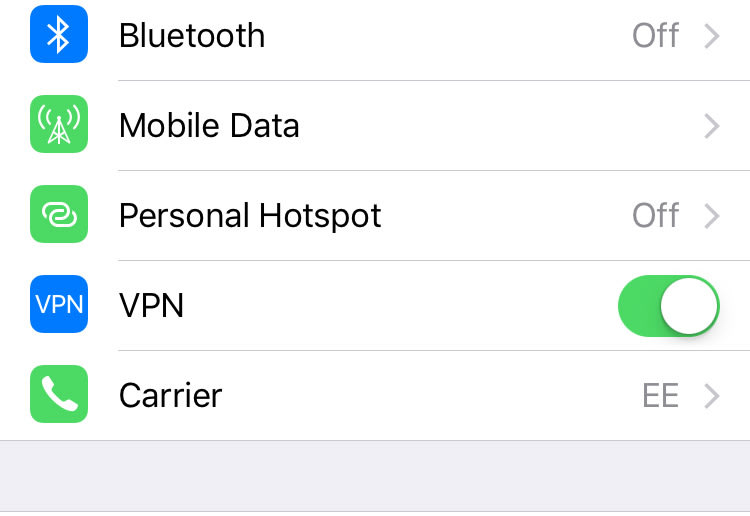
You can do this either via the app, or else by sliding the bar next to a new item in your phone’s settings called VPN. When the bar becomes green, your VPN is on.
Alternatively, you can get your VPN to reconnect automatically every time you unlock your iPhone.
Here’s how:
Go to your iPhone’s settings.
Scroll down to General. You should notice a new entry called VPN.
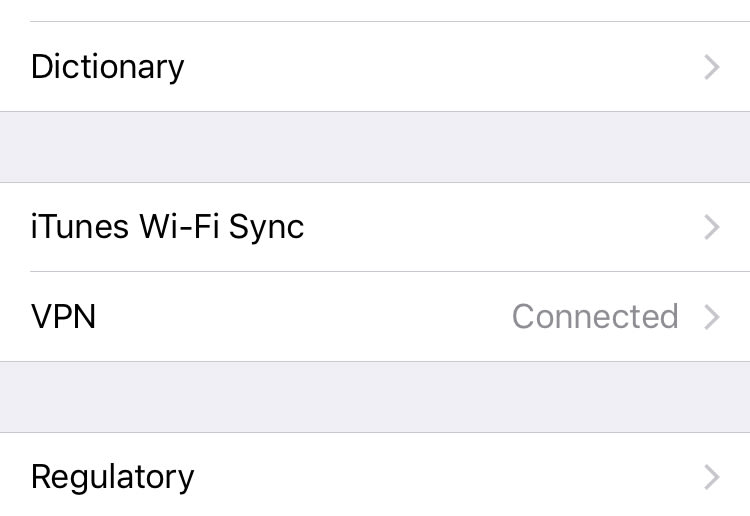
3. Press on VPN. This will take you to a new screen that shows you the names of the VPNs that are enabled on your iPhone.
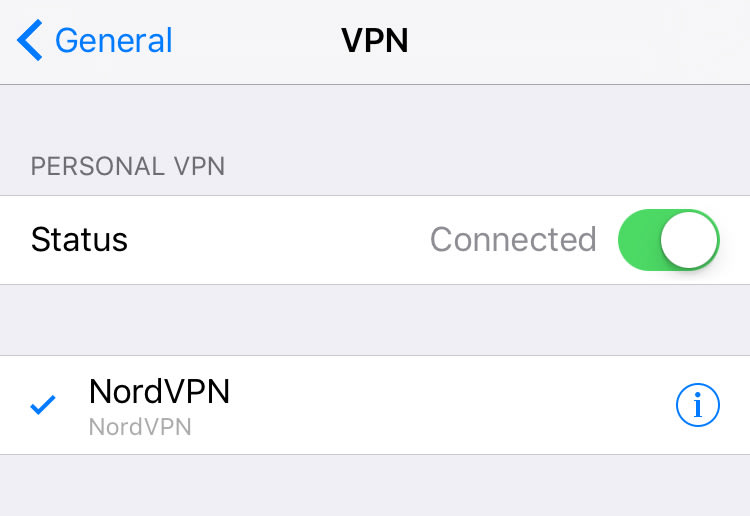
4. Click on the information icon next to the name of your VPN. You’ll be taken to an information screen that will show you the security protocol you’re using, the server, your account name, your IP address and the IP address currently assigned to you.
5. At the very bottom, there’s an option called “Connect on Demand” press the slider and wait for it to become green.
6. That’s it. Your VPN will connect automatically every time you unlock your iPhone.
Free vs. Paid iPhone VPNs
Like browser-based VPNs, free iPhone VPNs as opposed to paid VPNs, have a tendency to be slow and include lots of ads. The real risk of free iPhone VPNs, however, is your security. Most of the free iPhone VPNs on the market have quite a few poor customer reviews.
Also, keep in mind that you get what you pay for, which is why even reliable free iPhone VPNs restrict downloads to between 500Mb and 2Gb per month.
Most paid iPhone VPNs are affordable, with a range in price from anywhere between $7 and $12 a month, less if committing to a longer plan. If you want a reliable iPhone VPN with top-notch security, consider a paid plan.
It's Time to Protect Your iPhone
An iPhone VPN is a great solution for anyone who is concerned about their data collected by hackers. There are a few main points to consider when selecting a VPN to go with your iOS. Among them include security, speed, and performance, as well as reliability and accessibility.
